VIEWpath Video Solution Trainings
These VIEWpath® (Video Interactive Education Window) solution trainings will help you navigate your Audio Enhancement Video VIEWpath solution. Whether you are brand new to VIEWpath, or experienced and needing a refresher. This page will help get you trained up and comfortable with your schools VIEWpath System.
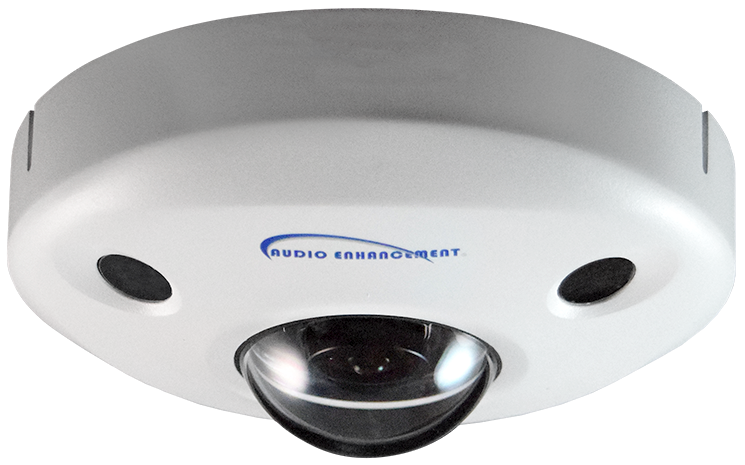
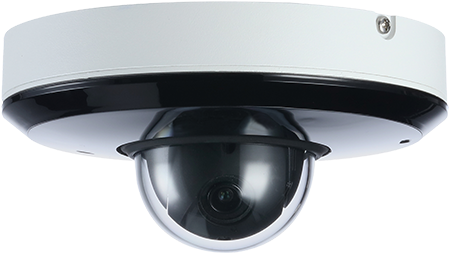
The camera trainings will differ slightly depending on what Audio Enhancement camera you are using in your classroom. Click on the Image of your camera to access the training you wish to complete.
The Admin Trainings will walk user through the backend setting for VIEWpath and VIEWpath Blend. Select the admin training image or a chapter to complete the Admin training desired.
Camera Trainings
VIEWpath Blend
Chapter 1 - Blend Introduction
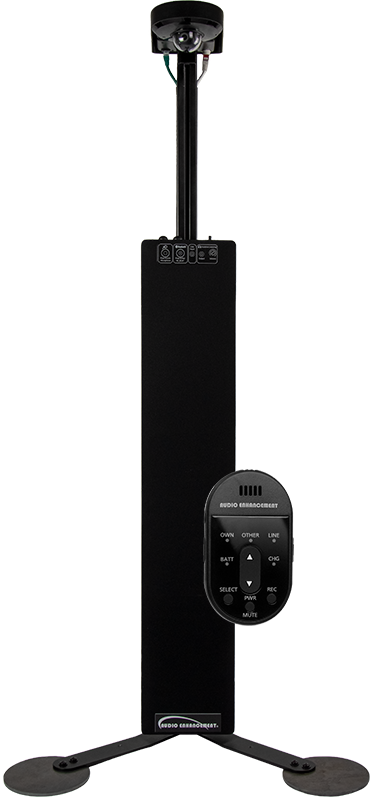
Audio Enhancement's all-in-one classroom audio and video solution, VIEWpath Blend includes the BEAM and EduCamPTZ (Pan Tilt Zoom) camera for the ultimate portable audio and video system. This combined solution allows educators to record both audio and video content for students participating in remote or blended learning.
For in-person instruction, BEAM offers crystal-clear audio, vital for when teachers need to speak through a mask. This portable system, when integrated with the installed headend server, has all the features of VIEWpath® (Video Interactive Education Window) in one simple-to-use package. Setup is easy, requiring only a network drop and an outlet for power. By loosening the two large nuts on the back of the unit you can raise the height of the camera to seven feet.
For a complete administration guide to the VIEWpath system, including LDAP/Active Director registration information, please see the complete VIEWpath/EPIC Administration Manual.
Your VIEWpath Server is pre-configured according to the network information that you provided our pre-programming team. The Blend Systems are all configured to request a DHCP address from your network when connected. You will need to make sure that the network ports that your Blend Systems are connecting to is on the same VLAN as the server.
Additional Resources
Chapter 2 - Blend Set Up
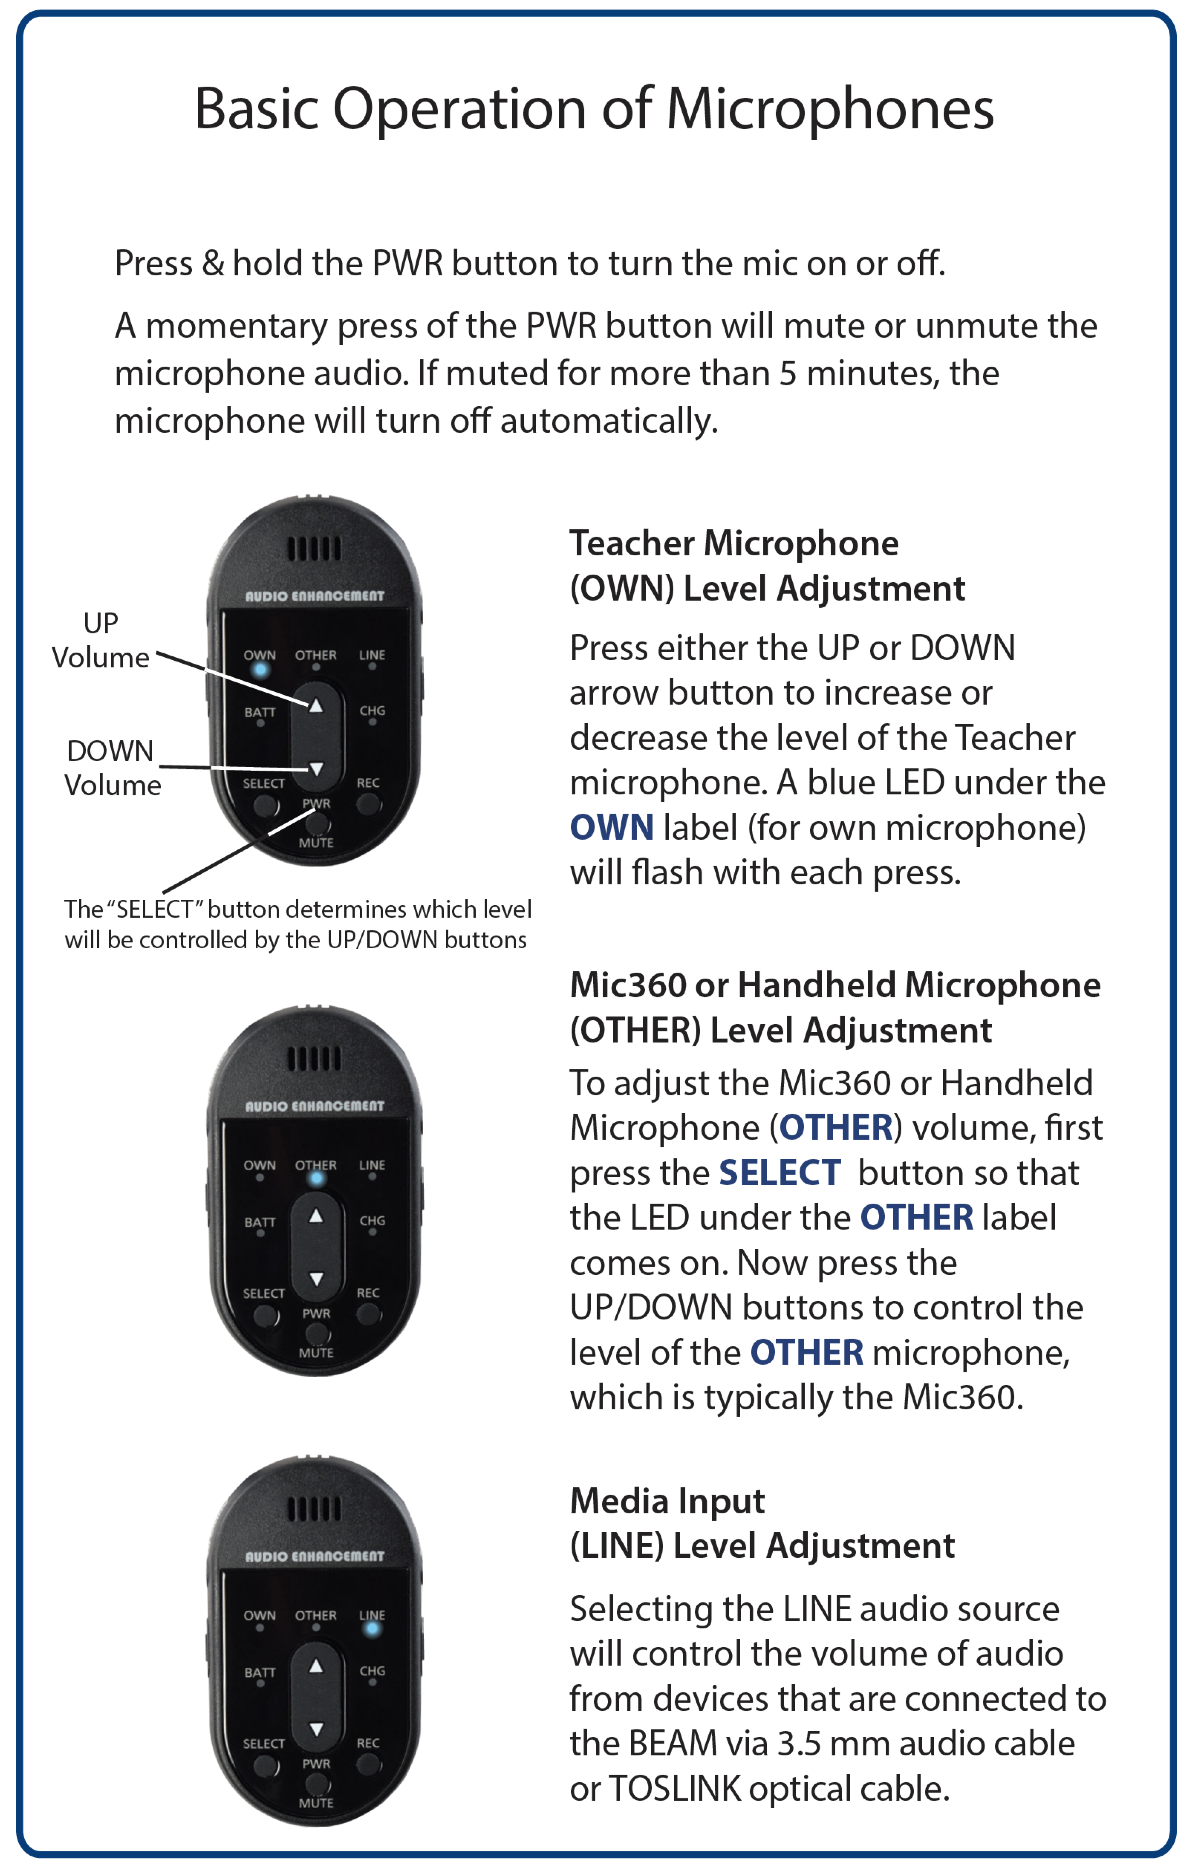
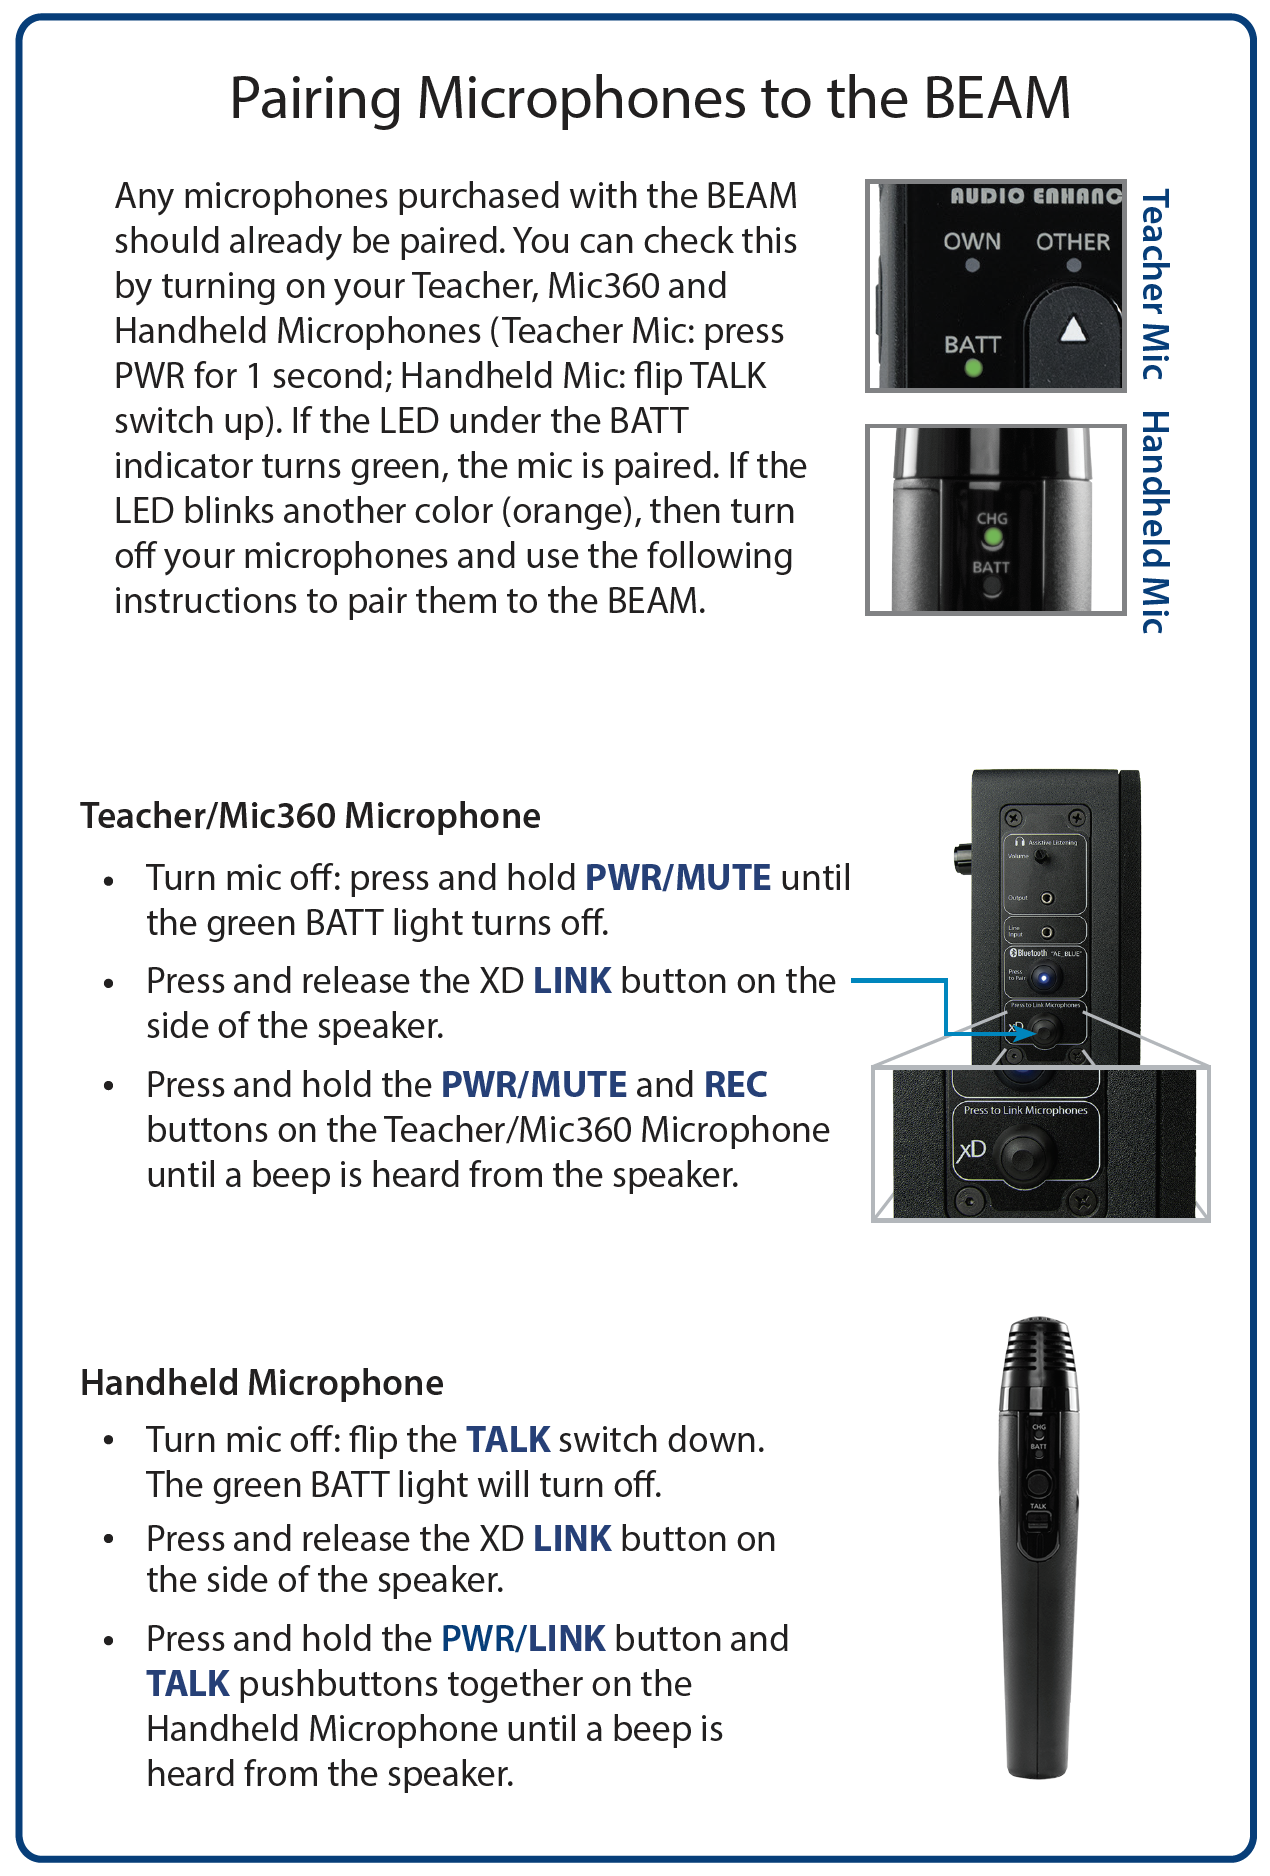
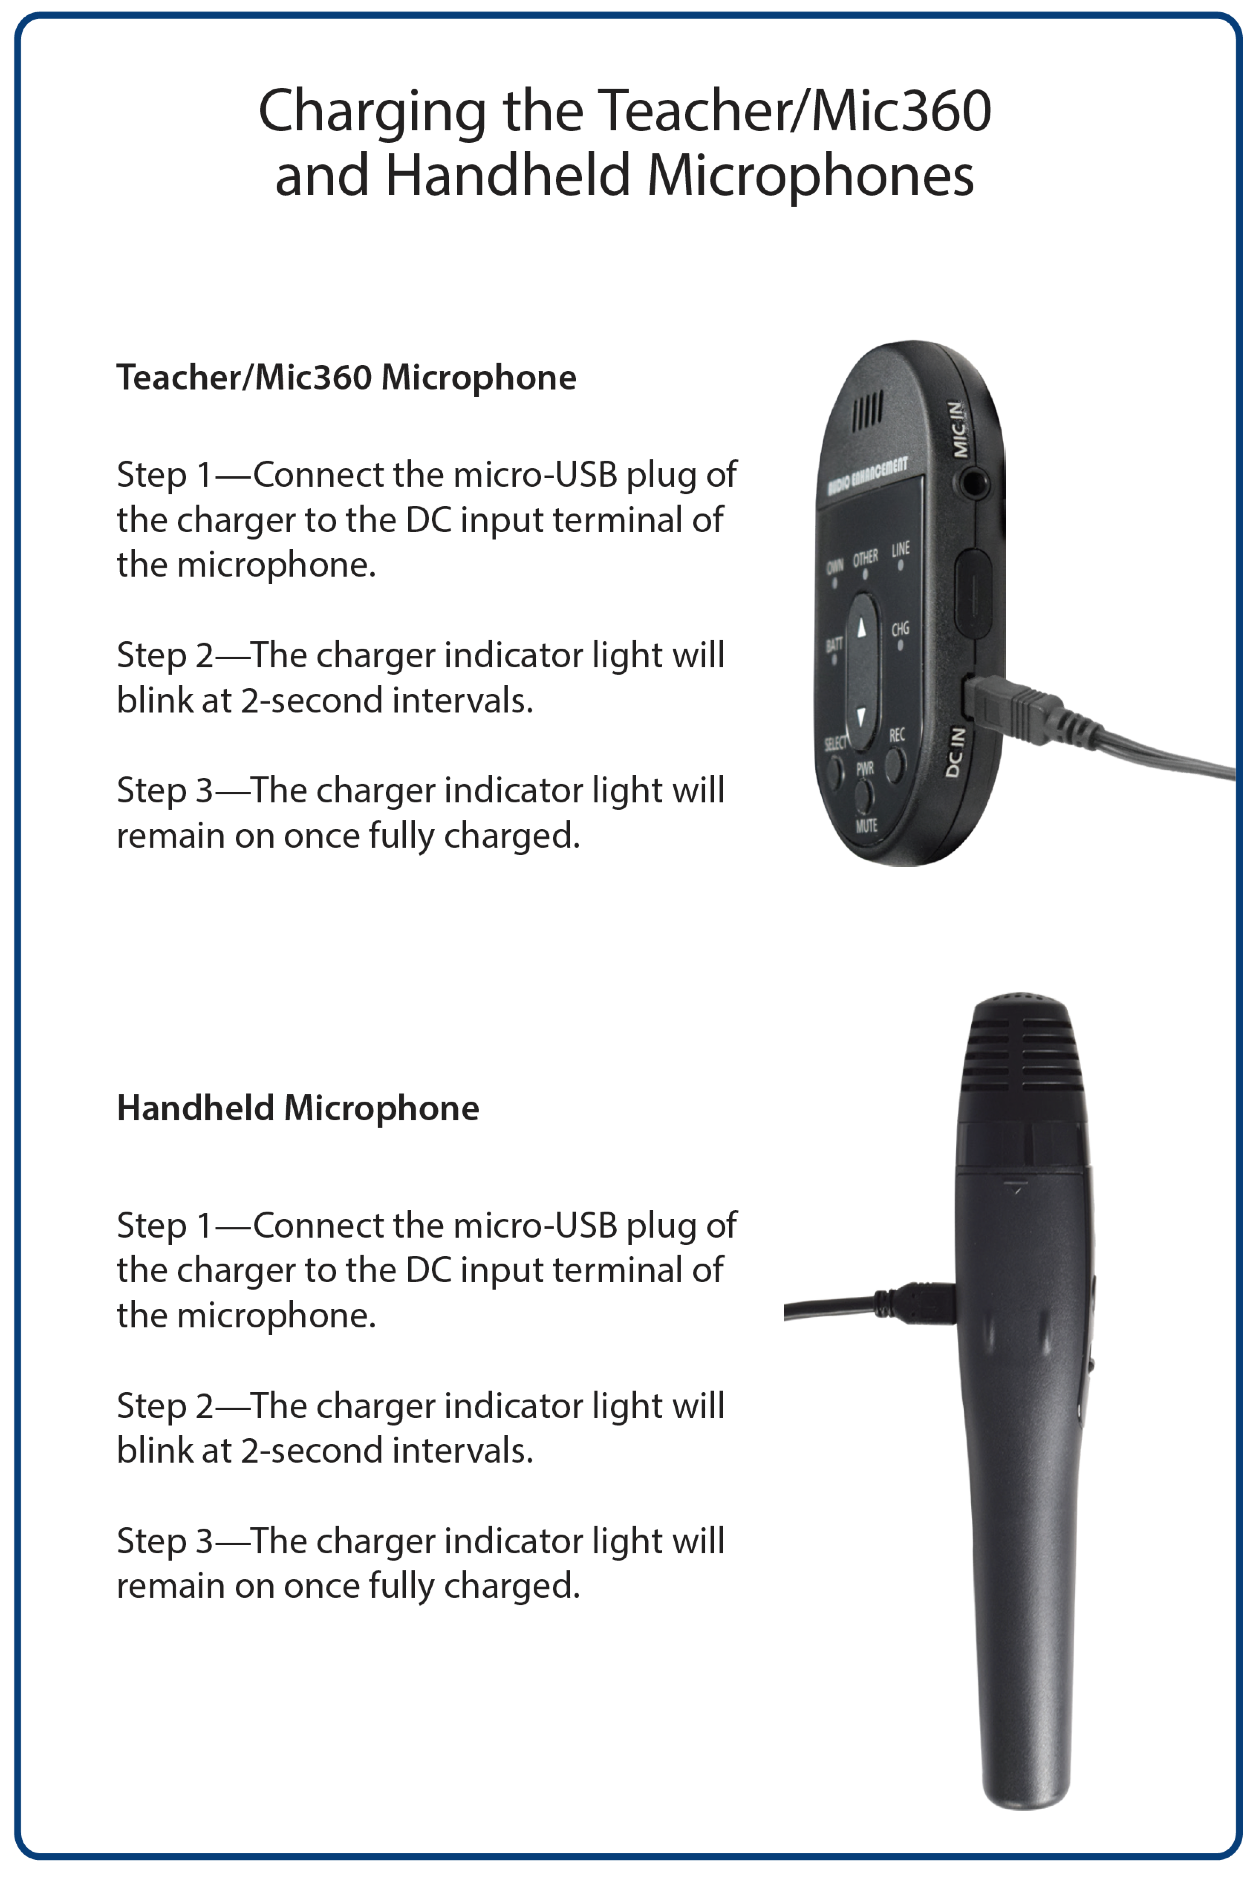
Blend Audio Setup
Chapter 3 - Login for the First Time
From your camera page in VIEWpath you will be able to see a list of available rooms, share your cameras, control your camera, create recordings and use your camera live in your video conferencing platform. Your district will provide you with the link to your server and credentials for logging in.
The first time you log in you will need to finish your account set up. watch the recording below to learn the process.
If your district has not done a self signed certificate for your VIEWpath Server you will get this connection is not private warning.

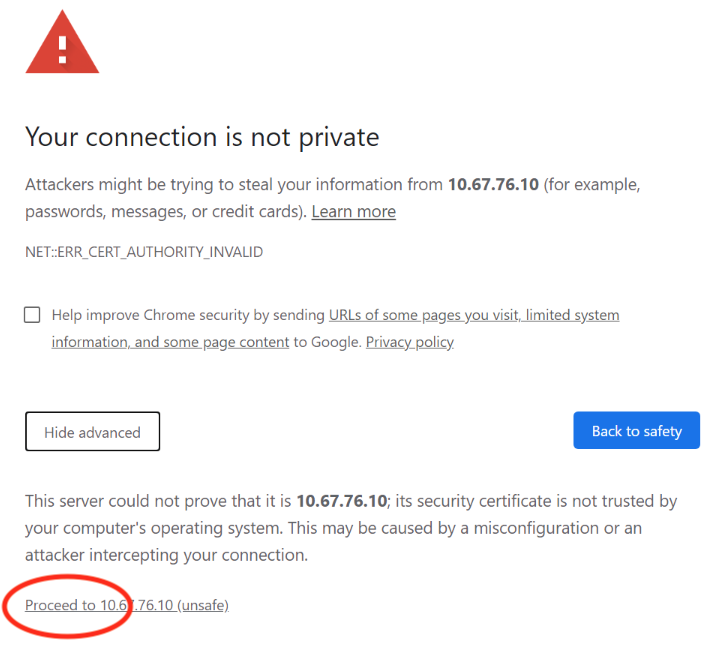
You will need to click the Advanced button and then proceed.
This site is private and safe because it is on an internal web server.
Chapter 4 - Using VIEWpath and your Cameras
From your Camera page in VIEWpath you will be able to see a list of available rooms, share your cameras, control your camera, create recordings and use your camera live in your video conferencing platform. Your district will provide you with the link to your server and credentials for logging in.
Chapter 5 - VIEWpath LIVE Video Conferencing
Additional Resources
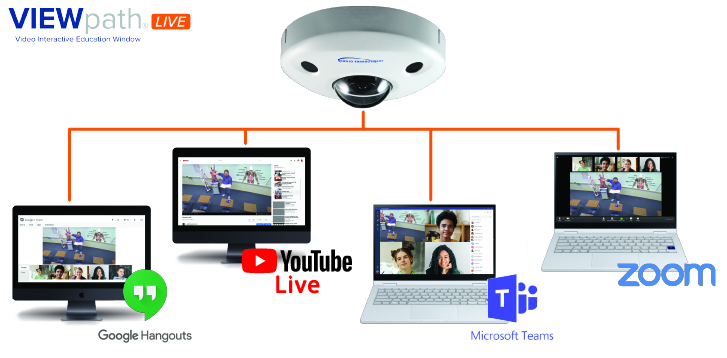
With the VIEWpath Live feature, you can deliver content to students both in the classroom and those that might be learning from home using popular online meeting platforms.
Clicking the live button will turn your classroom AE-EDUCAM into a virtual USB camera. You can then select your camera and audio feed in your video conferencing platform.
Chapter 6- Creating Recordings
Recording in VIEWpath
Recording with VIEWpath is simple with your portable VIEWpath Blend unit. You can even use our lecture capture to record your presentation screen side-by-side with your camera.
This video will cover how to record in VIEWpath with your portable Blend unit.
Recording with Lecture Capture
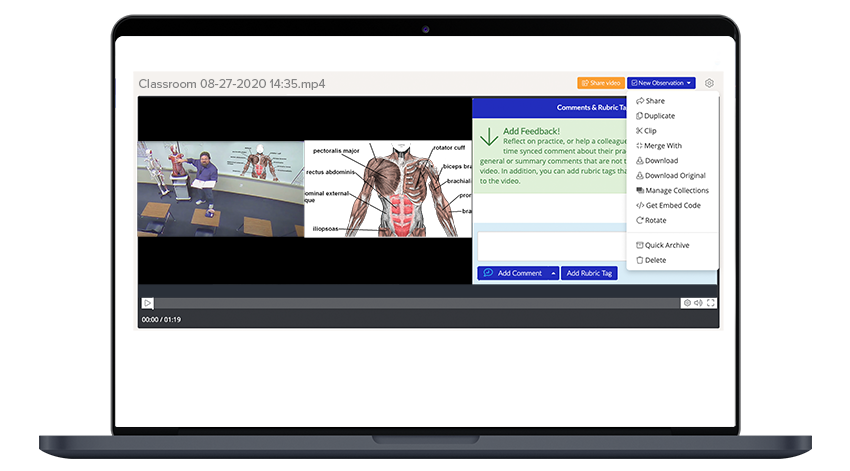
Use Audio Enhancements Lecture Capture to record your presentation screen side-by-side with your camera.
Chapter 7 - Managing Recordings in VIEWpath
The VIEWpath platform allows you to manage your system's recordings. This chapter will teach you how to access your videos, edit, and share your videos.
With the flexibility of VIEWpath, not only is recording simple, but accessing, editing, and sharing your videos is simple as well. You can use your EduCam360, your Blend unit, a webcam, or even the TORSH app to record videos, and no matter how you record all of your videos will automatically be uploaded to your Portfolio in your cloud storage account.
Accessing Videos
Each time you login to your VIEWpath TORSH Portfolio it will load your home page. You will see your system name, associated networks, recent uploads, recent files that have been shared with you, goals, videos, and files that have comments or feedback.
Videos and Files
To access files and videos uploaded or shared with you, first select “Videos and Files” from your navigation bar. Here you will be able to filter your selection for easier searching. You can also modify the view of the files in your library from this page.
Editing Videos
To edit your videos directly in TorshTALENT, hover over the settings gear. In the setting gear you can duplicate, clip, and merge your videos. Once you have completed your editing, your new video will appear on your Videos and Files page.
Editing Metadata
You can change the title and the metadata of your video for easy searching and cataloging. Click on the pencil icons will allow you to change the title of your video, add a description, add tags to organize your videos by category, and attach documents.
Downloading and Deleting
Downloading videos to your computer or your LMS is easy. From the Video Page, select the Settings Gear Icon. You can download, archive, or delete your videos from this menu. The download option will allow you to save your video to your computer or a cloud storage system, like Box, Dropbox, Google Drive, or OneDrive.
If you are using a cloud storage system, you will likely be asked to link your account the first time you download. This will only happen the first time, and it will allow you to download to your outside cloud storage with one click.
Feedback
One of the most amazing benefits of video in the classroom is the ability to give and receive feedback. With the VIEWpath TORSH platform, the ability to collaborate on a video is simple. You can add time-synced comments, summary comments, voice comments, and tags.
Chapter 8 - Sharing Recordings via LMS
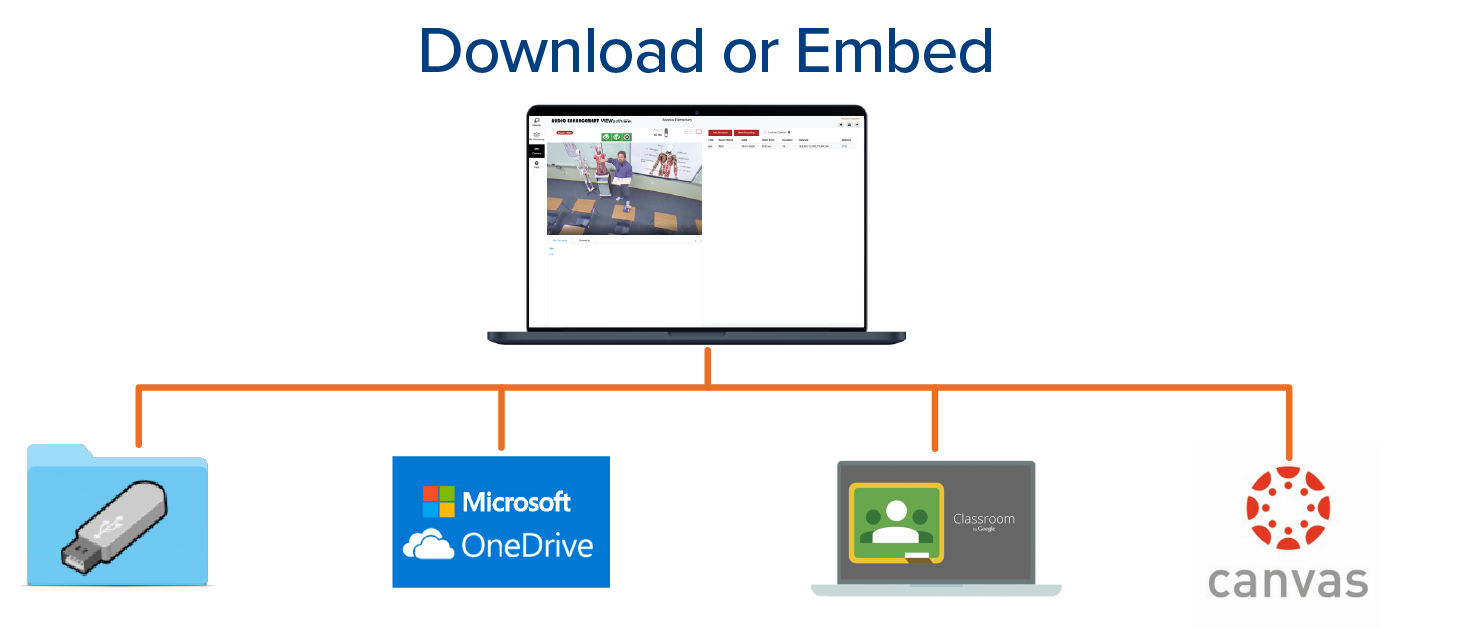
Sharing videos with students is simple with VIEWpath. Teachers can download videos quickly and easily to a your computer or to a cloud storage service. Integrating with an LMS is as quick as copying and pasting an embed code.


